I know someone who is opening a shop soon and she wants to fill it full of arty-crafty things, she's asked me to make some crochet bits and bobs for her, how exciting! First on my list is some crochet flower corsages with button middles, I've seen lovely spotty buttons on ebay and on the market stall in town, but they're quite expensive and plastic too, so I decided to make my own. Which is how I found myself making salt dough in my dressing gown in a fit of inspiration this morning!
I used a basic recipe for salt dough - 2 parts flour to 1 part salt and water...I used a 1/4 cup measuring spoon (the recipe I read asked for 2 cups of flour, but I only needed a little bit and the amount I made was more than enough!) I also added a little drop of sunflower oil, to make it easier to knead, and a few drops of lemon juice, which is supposed to make it harder (seems to have worked despite the fact the adding of lemon juice instructions were quite vague and I guessed at the amount, I have dropped several buttons and they didn't break!)
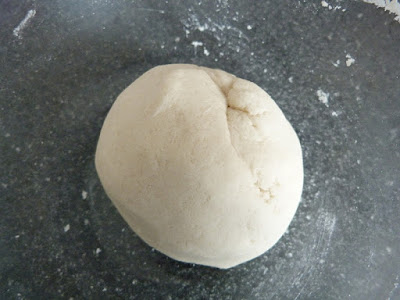
I made up my mixture, kneaded it for 10 minutes and left it to rest for another 20.
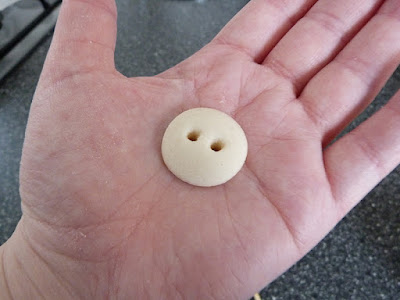
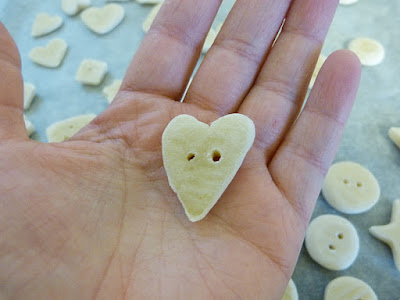
I used some little vintage Tupperware cutters that my Mum says are petite fours cutters to make some of the small buttons, a star cookie cutter that I got in my Christmas cracker and hand shaped most of the heart and round buttons, you can see the rolling in a ball and squashing technique I developed to make my round buttons in the photos below.
I used a matchstick to make the holes. As you can see I had enough dough to make buttons to fill this 12 inch square tray (which only fits in my oven if you tilt it at a funny angle!)
Put them in an oven on the lowest heat setting for up to 4 hours, mine have been in for 3 then it was tea time and they had to come out of the oven to make way for the chips! About an hour or so into the baking time, when the tops have gone nice and white and hard turn the buttons over. This is a good time to check the holes haven't sneakily closed up at the back, most of mine had (in the photo the hole on the left is all shrunken, the one on the right is after I poked it with a match stick again) these need to be re-poked with a matchstick, re-poking won't hurt the buttons so long as the tops have gone hard (so you don't squish them when you handle them) and the underneaths are still yellowish and a bit soft (so you can physically get the matchstick through!)
I have to leave my buttons overnight to completely dry out and then I'm going to paint them!!!
My salt dough buttons were a winner on the Best of Craftster 2012, how exciting!
My salt dough buttons were a winner on the Best of Craftster 2012, how exciting!
I'm a Craftster Best of 2012 Winner!


Cute! Ace news about the commission too :)
ReplyDeleteI made some buttons from Fimo a few years ago and it was a lot of fun - I think I might try making more out of salt dough now you've mentioned it -- far cheaper than Fimo! :)
Ohh, I like your fimo buttons...they're very nice and round and uniform looking...mine are all different shapes and sizes! I went for saltdough cos it was the cheapest option I could think of!
ReplyDeleteAwe-some!!! Can you do that? Make your own buttons that is? Didn't know one could do this. Awesome... Gotto do this with the kids! Congrats on making stuff for the shop. So creative!
ReplyDeleteYeah you can! You can do anything of course! Except wash the buttons in a washing machine.. Or by hand. Don't get them wet (or they turn into gremlins...) I think these are good for decorative button uses only!
ReplyDeleteWhat a great idea - cheap to do too I suppose!
ReplyDeleteLook forward to seeing them painted!
Kay :)
Thanks Kay! Was going to paint them tonight but ended up making a wardrobe instead!
ReplyDeleteThey're so cute! Can't wait to see the finished product!
ReplyDeleteLove & Lollies... Jessa
♥Confessions of the Cupcake Countessa♥
Hi Jessa, thanks for visiting my blog! I've painted a few of my buttons, but I have to wait until I've crocheted all the flowers for them to go on, so I can paint them matching-ly!
ReplyDelete