Showing posts with label repairing. Show all posts

Tuesday, 4 July 2017

Make one small change, mend the thing.

Making one small change at a time can make becoming eco friendly loads easier.  Lots of small changes add up to a big difference.

Make one small change, mend the thing. By UK eco blogger secondhandsusie.blogspot.com #makedoandmend #repair #zerowaste

I very nearly bought a new steamer pan the other day.  The metal handle on the lid had sheared off and I was opening it in a slightly dangerous manner by sticking a knife under it.  I didn't have another lid that would fit either.  

But I decided, no.  No, I won't put an otherwise perfectly usable pan into landfill and buy a new one (not that I'd have put it in landfill, it would have ended up as plant pots no doubt!  But that still would have been a waste).   

I'm not actually sure how much of a bother mending this was, because husband bought the wooden handle and attached it to the screw that was already in the lid.  I was totally willing to do it even though I have no DIY skills, he just beat me to it.  

Mending your stuff saves resources and money (a new steamer pan costs £25, a wooden knob cost less than £1) and makes you feel very smug indeed.  Now I've just got to get round to mending that hole in my skirt, wobbly table leg, garden gate latch..... have you got anything you can mend and then feel smug about?

Don't forget to check out my other small changes to help you live a greener life!


Wednesday, 19 March 2014

The Mending Pile.

I have a mending pile as high as the sky.  Things go in and rarely come out.  Or they come out to be worn, and holes ignored!

But as I am starting the year off in a tidy and organised manner I thought it might just be time to sort it out.


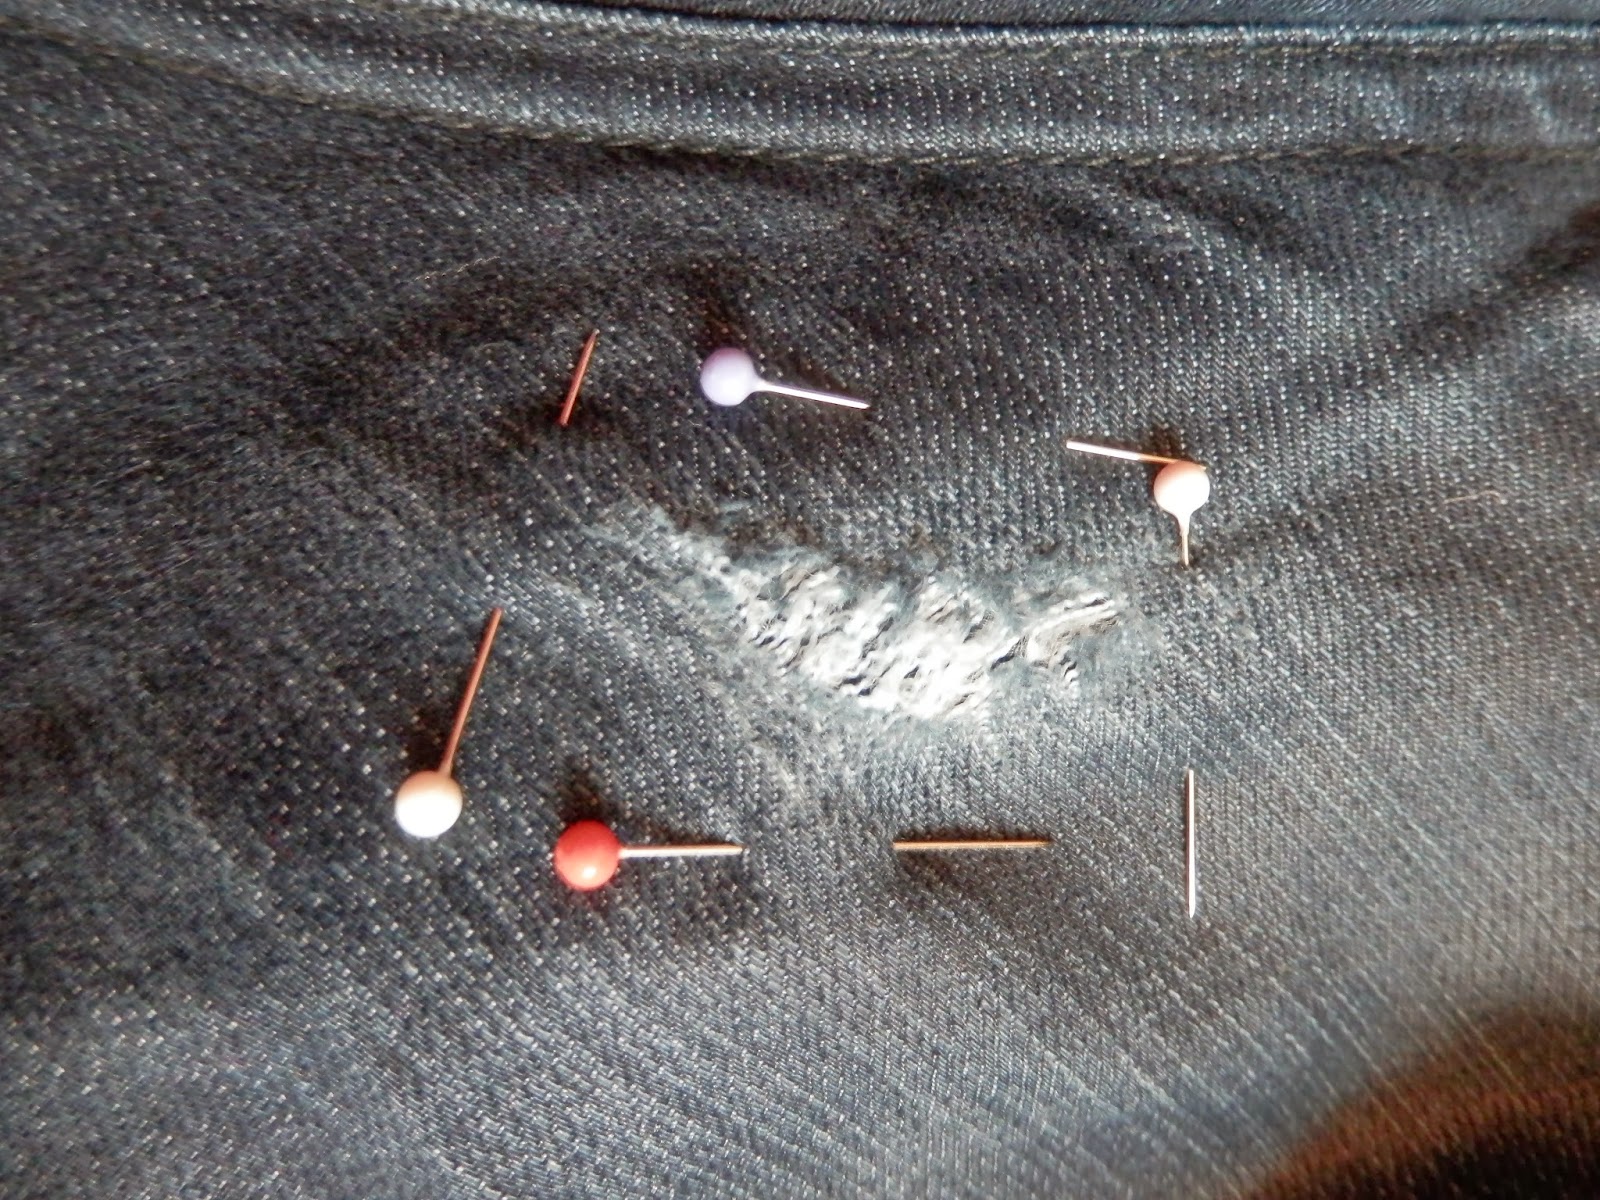
Jeans have been patched...


Armpit holes sewn up...


Lace sewn back on...


Straps reattached...busts taken in...


Blouses resized...(I bought this blouse second hand for £1.75, but it was a size 24, I knew I could easily take it in by just sewing down the sides, it's lovely now!)...


And pompom ears popped back into place.


I have 1 pair or jeans, 3 tops, a dress and a pair of gloves to wear.  It's almost like going shopping for a new outfit, but without spending any money!

Do you mend your clothes?  Or do you just plan to and never get round to it (like I usually do!)?

Sunday, 29 January 2012

How to Re-Cover a Vintage Hand Mirror...

 Last night at about 5 past midnight my mind started whirring about this old mirror that's been sitting in my drawer for at least 5 years.  It was my Nan's, and I snaffled it when she died, it was covered with years worth of hairspray, and much as I enjoy the image of her looking at her perm and spraying it solid using the mirror, it wasn't very nice to look at.  I washed it a bit overenthusiastically and water seeped into it, making the fabric go all brown and gross.  Last night I decided I could probably find that mirror, take it apart and recover it.  Cue scrabbling about in drawers at 1am (sorry mum.  sorry neighbours!)  


Sadly, I don't have a before picture of the mirror, I only thought to take photos after I'd dismantled it, but you can see in this one the pink with brown blotches fabric (top left).  And my dressing gown sleeve.

To dismantle the mirror you need to unscrew the cap off the end (number one) then pull the handle off (number 2), then pull the cap at the top of the handle down (number 3) then remove the metal frame around the mirror (number 4).


You're then left will all sorts of bits from inside...my mirror was padded with this cardboard with a picture of some sort of hovercraft (I think!) on it, which I think is very cute!


Then you need to draw round one of your pieces with the new fabric you want to use...I used this vintage flowery stuff someone gave me...and cut it out.  Next you have to sandwich all the layers back together again...mine went mirror, metal handle thingy, vintage hovercraft cardboard, new fabric, perspex cover and hold on to them really tight while you feed all of it into the metal frame.  This is the trickiest part and took several goes, in the end I had to take out a layer of cardboard (there were 2 originally) but I still only spent about 10 minutes fiddling with it.  Once you have the frame back on you can put the caps and handle back on and tighten it up again.  Et voila!  One newly re-covered vintage hand mirror!  


I'm glad it's been redeemed from that sad and sorry place in my dressing table drawer and can be used again !

Tuesday, 12 April 2011

Tie Die Duuuuude...

This weekend it was lovely hot weather so I knew if I did some dying it would dry quickly.  I've had this turquoise canvas bag for ages...it came backpacking with me a couple of years ago where it got all sorts of yellow and brown and black stains on it.  It's the perfect size so I decided to dye it and bought some dylon machine dye in Antique Grey.  I popped it in the machine with my bag and then thought hang on, I could dye more stuff at the same time and had a quick raid of my bedroom.  I found 4 cotton hankies to dye, and a pair of knickers! Yep that's right, I now have tie dye pants!  They make me laugh...A Lot!

Before:


After:

The blue zips on the bag didn't dye, so I might replace them, or I might sew buttons all over the bag, which might distract attention from the bright blue zips! 


Here are my tie dyed hankies!  I'm sooooo pleased with them!  I used rubber bands to tie them, which worked really well.  I had a peek at them in the middle of the dying process and it didn't look like the tie dying had worked, so I was very happy and surprised to see it actually had!


To the right you can see my glorious tie dye underwear!  I'm not usually a fan of showing my undies off online but I'll make an exception this once!  I also dyed the NY t-shirt my mum brought me back from her holidays.  It was Very White which isn't wise for me, so I saved a little of the machine dye (I thought it would be too dark if I put it in the machine and I was right!) mixed it with salt in a bucket and hand dyed the t-shirt, which I will now be able to wear without fear of getting chocolate, mud or pen all over it (actually, I probably still will it just won't show up as much!)

Monday, 23 November 2009

Clothes recycling week...days 4 & 5...Denim Skirt, Mending Pile, Griffindor Scarf...

Technology wasn't my friend this weekend - my laptop decided to stop working too so now I'm not only using mums camera but also her computer! But my sewing machine was still my friend, so I still managed to make a dent in my pile of fabric and clothes and other 'stuff', so I'll show you what I made in my final 2 days (the weekends don't count do they, they're days of rest!) of my clothes recycling week now...

I finished this skirt, made from an old pair of jeans - you rip all the inside leg seams open, then sew them back together then add a new panel of fabric to fill in the gap between the legs.
I also tackled this whooole pile of mending. I don't find mending as exciting as making new stuff but I think mending stuff before it falls apart is an important step in preserving the clothes I have so I have to buy less new. Here is said pile, containing a mended coat, hoodie, tshirt and knickers.

I've also made great progress all though the week with my Harry Potter scarf. Ok, well it's not that impressive considering I've been knitting this thing for 3 YEARS!!! But I will finish it this year and wear it! It's currently the length of one of my legs.


So I've ended up with 2 new skirts, some new hankies, 2 reusable shopping bags, a tshirt. coat, pants and hoodie that are wearable again and a beard - all without a penny spent or anything new used - not a bad weeks work I don't think!